Helpful Tips for Embroidery: 4 Tricks to Fix Puckering on Your Designs
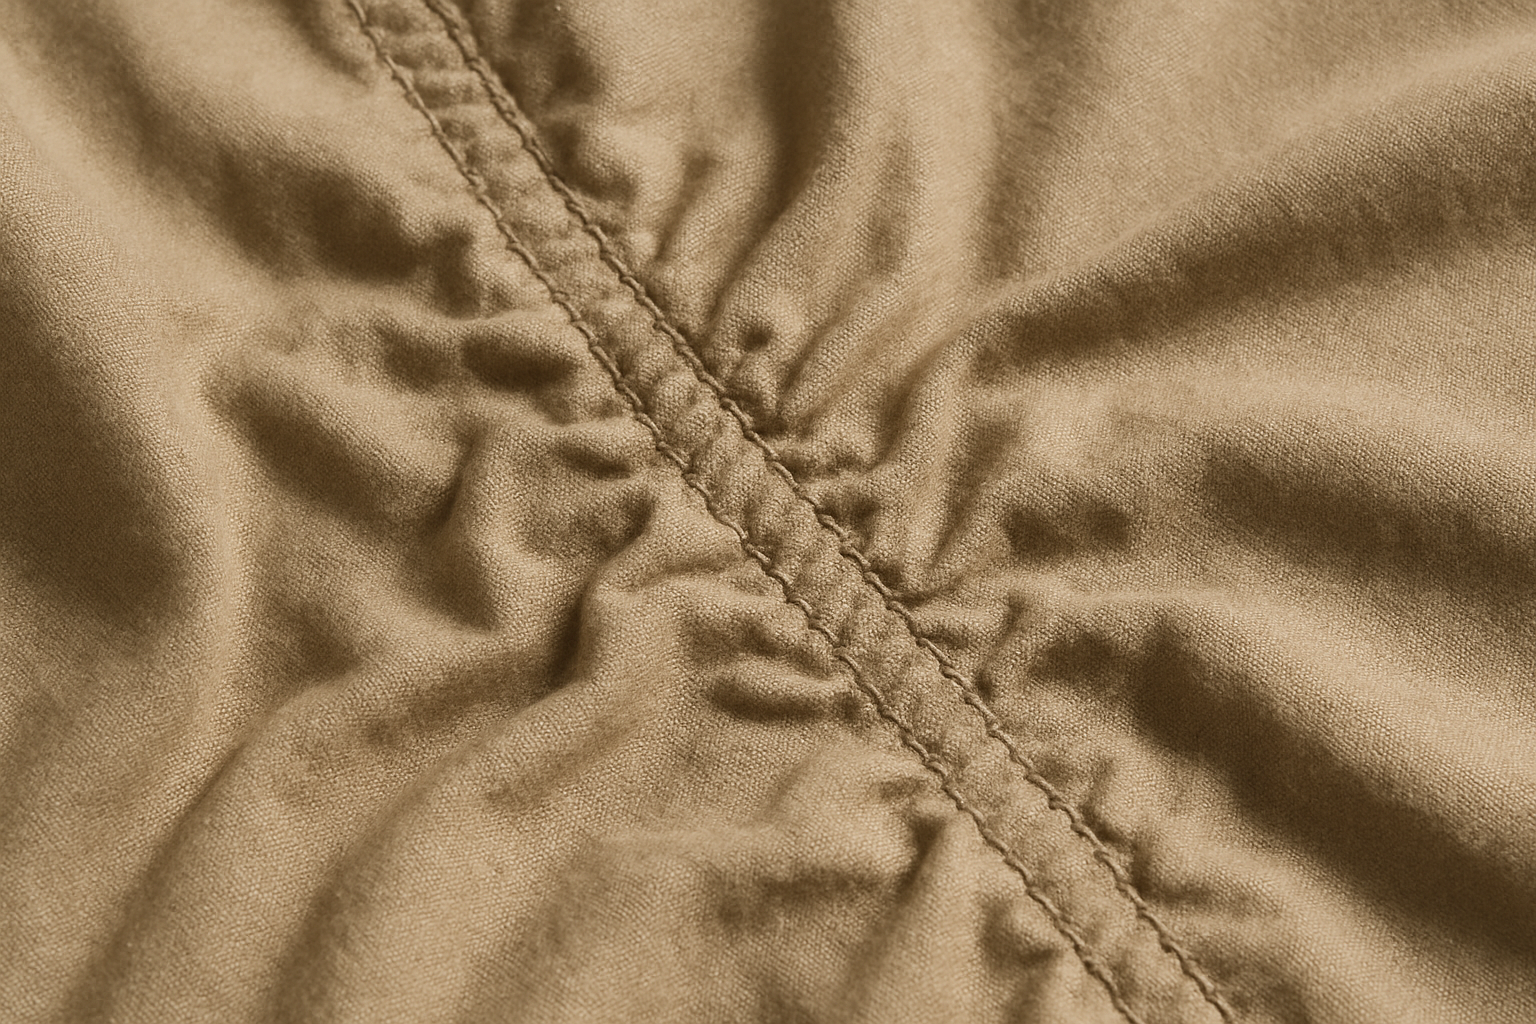
Imprint Connect shares helpful tips for embroidery to prevent and fix one of the most common frustrations: puckering. Puckering looks like small waves or ripples in the fabric after stitching and is caused by movement of fabric during sewing. Below we walk through the four main causes of puckering and give actionable solutions so your next project lays flat and professional.
What is puckering?
Puckering is what happens when an embroidery design is stitched and the fabric pulls into little waves or ripples, caused by movement within the design on the fabric itself.
In plain terms, puckering is a physical reaction. Embroidery involves a top thread, a bobbin thread, layers of fabric and stabilizer, and a hoop/frame that moves in X and Y directions. All of these elements interact, and when they push or pull the material in different ways, the fabric distorts.
The four primary factors that cause puckering
When troubleshooting puckering, evaluate these four areas in order. Addressing each will reduce distortion and improve results.
1. Fabric type
Fabrics differ in weight, stretch, weave tightness and fiber content. Lighter, thin or stretchy fabrics have a higher tendency to pucker. Heavier, tightly woven textiles like denim resist movement better. Always consider how the fabric will react before selecting a design.
2. Stabilizer choice
The stabilizer should match the fabric and hooping method. Options include:
- Cutaway (heavyweight) stabilizers — best for knits and stretchy garments
- Tear-away stabilizers — good for stable woven fabrics but not for stretchy knits
- Water-soluble stabilizers — useful for delicate or sheer fabrics
- Fusible stabilizers and interfacings — add permanent stability and reduce puckering
- Temporary spray adhesives or starches — can add extra stability for tricky materials
Using the wrong stabilizer (for example, a tear-away under a stretch knit) often leads to puckering because it fails to control movement during stitching.
3. Hooping technique
How the fabric and stabilizer are held in the hoop is crucial. Wherever possible, hoop the fabric and stabilizer together so both layers are clamped securely. Floating—the practice of hooping stabilizer only and placing fabric over it—can be convenient but comes with risks unless additional measures are used (spray adhesive, basting/pasting stitches, pins, or clamping devices).
For slippery or sheer fabrics, consider:
- T-pins or small clamps to secure edges
- A rubberized or textured inner hoop to reduce slipping
- Temporary adhesive sprays to hold layers together without hoop tension
4. The digitized design itself
Designs that are digitized with machine behavior in mind are far less likely to cause puckering. Key design elements to watch:
- Overall stitch density — too dense (“bulletproof”) can overwork the fabric; correct density provides coverage without excess weight.
- Stitch direction — abrupt changes and multiple angle shifts push the fabric in different directions and create movement.
- Layer order and blending — thoughtful sequencing reduces repeated stress on the same area.
There is a difference between a properly stitch-intensive design (lots of detail created with appropriate density) and an overly heavy, multi-layered design that physically stresses the fabric and machine.
Case study: Reworking a sunflower jacket-back design
We digitized a large, highly detailed jacket-back sunflower with lots of blending and shading. When tested on thin acrylic felt with cutaway stabilizer, excessive puckering appeared. The culprit? Rapidly changing stitch directions across the petals—stitches pulled the fabric in conflicting directions and distorted the piece.
Solution implemented:
- Re-evaluated the digitizing approach and reduced abrupt stitch-angle changes.
- Kept stitch directions within major petal areas consistent so forces would align rather than counteract each other.
- Lowered local stitch densities and used softer blending techniques (more watercolor-like fills) instead of heavy outlines and dense shading.
The redesigned file preserved artistic intent while dramatically reducing puckering during machine runs. The result: a visually pleasing design that behaves well on a wider range of fabrics.
Practical checklist: 4 tricks to fix puckering
- Match stabilizer to fabric: Select cutaway, tear-away, fusible, or water-soluble stabilizer based on fabric weight and stretch.
- Hoop securely: Hoop fabric and stabilizer together when possible; use pins, spray adhesive, or clamping aids for slippery materials.
- Mind stitch direction: Digitize so stitch angles flow with the design and avoid abrupt directional changes that cause opposing pull.
- Adjust density and layers: Reduce unnecessary density and layer sequencing that re-stresses the same fabric area.
Use these helpful tips for embroidery on every project. A little planning—choosing the right fabric, stabilizer and hooping method, and digitizing with machine behavior in mind—prevents most puckering issues before they happen.
Conclusion and next steps
Preventing puckering is a mix of material choice, preparation, hooping technique and digitizing strategy. When these four areas are addressed, results improve dramatically. For those looking to dive deeper, seek out tutorials and digitizing resources that focus on machine-friendly design principles and practical hooping tricks. Apply these helpful tips for embroidery to your next project and see the difference in stability and finish quality.

